Video Guide to setup ACME for NGINX on CentOS
Step 1. Purchase an ACME SSL Certificate
Before you begin the configuration, you’ll need to purchase a trusted ACME-compatible SSL Certificate. While free ACME providers such as Let’s Encrypt are suitable for hobby or temporary projects, they lack the reliability, support, and flexibility required for production environments. With SSLTrust's Domain Validated ACME Certificates, you get the same automated issuance and renewal benefits—plus enterprise-grade advantages such as Unlimited Certificates, Unlimited Server Deployments, and Multiple Account Bindings (EAB) to securely manage certificates across different systems. All certificates are backed by globally trusted Certificate Authorities and supported by SSLTrust’s expert team. You can have a look at our ACME SSL Certificates. Also, do check out our ACME SSL Certificates from Verokey and Sectigo. You can also use the SSL Selector on our website. If you're still unsure which certificate to choose for your business, please contact our Sales Team, and they will be glad to help.
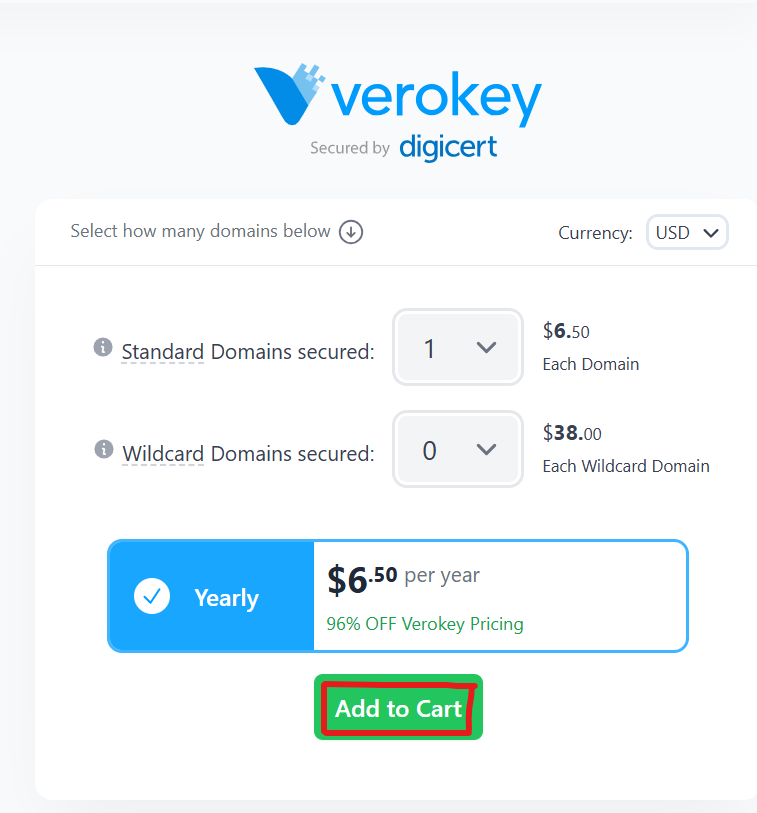
1. After having finalised your choice and the number of domains to be secured, click on "Add to Cart"
Complete the checkout process.
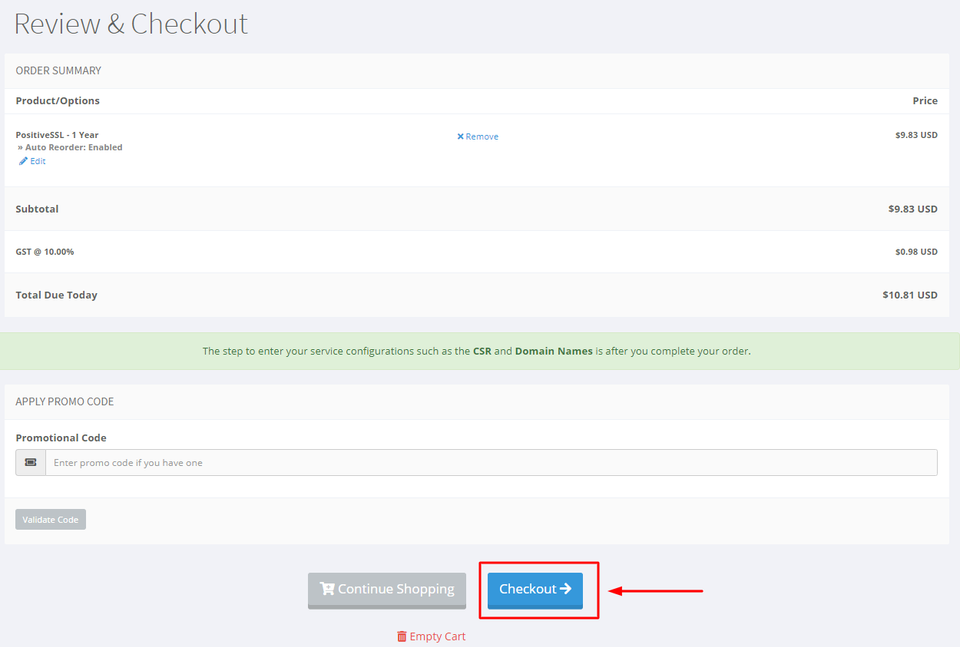
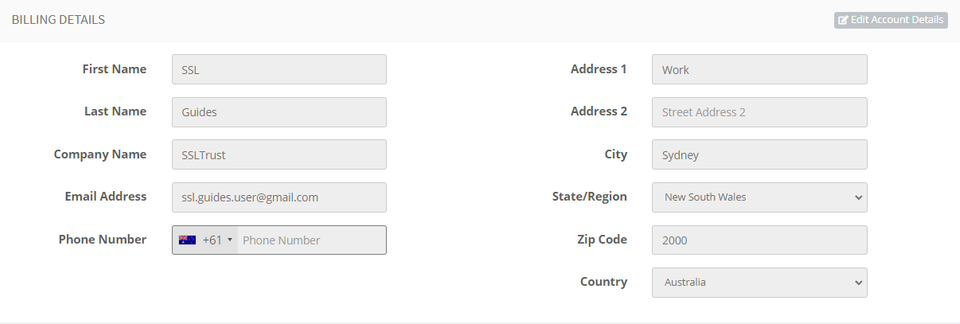
Provide your account information
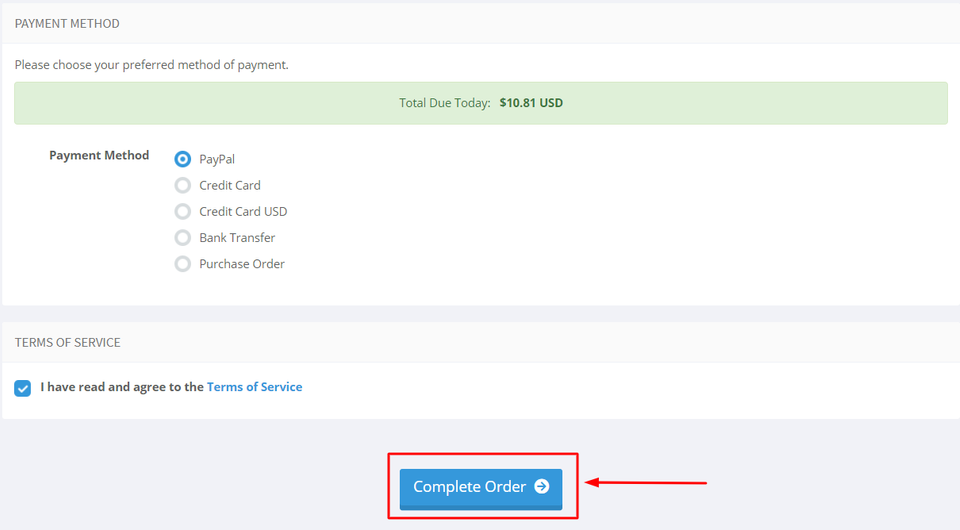
Pick the payment option you prefer, then click on the checkout button
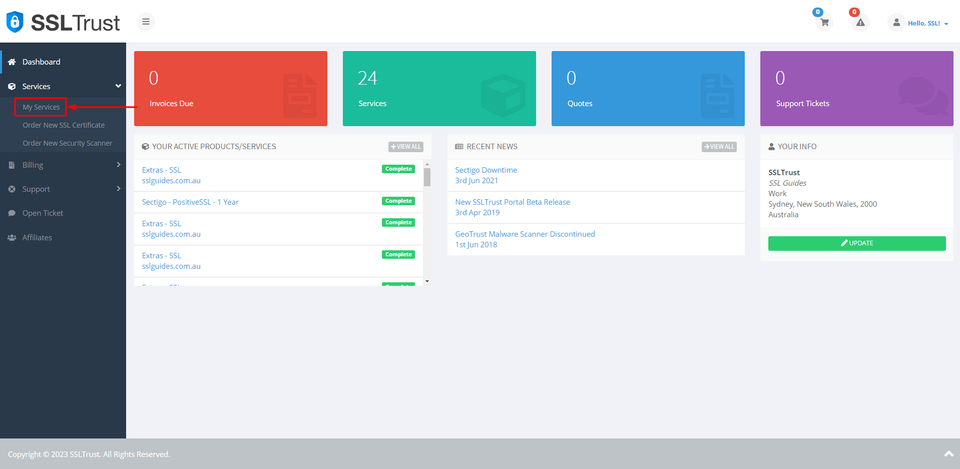
2: Following your SSL Certificate purchase, you're ready to commence configuring it. To complete this action, navigate to your SSLTrust account and handle your latest purchase. Access the SSLTrust Dashboard, then navigate to Services and select My Services.
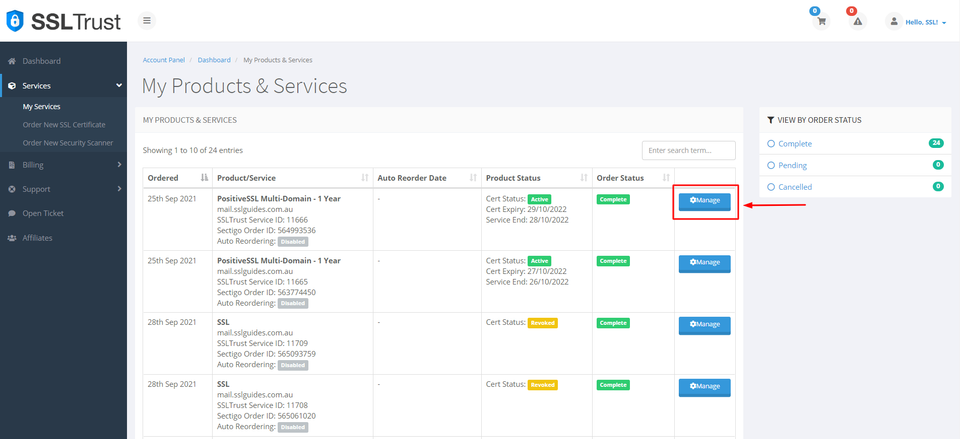
Your purchased certificate and order status should be visible to you. Next, click on Manage.
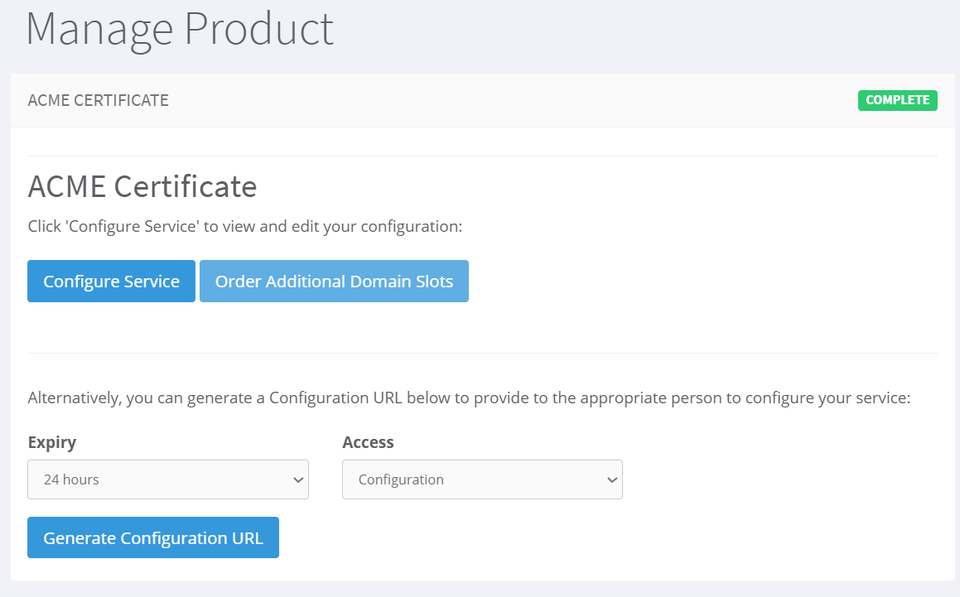
Upon clicking Manage, you'll find yourself on the Product Details page of your SSL Certificate. Click "Configure Service" to configure the settings manually. Alternatively, you can generate a configuration URL with an expiry and send it to the concerned person for them to handle the configuration on your behalf.
Step 2. Configure your ACME SSL Certificate
1. After successful purchase, you can proceed to configure your ACME SSL Certificate by generating your External Account Binding (EAB) credentials with the Certificate Authority (CA) and submitting the domain name you want to secure. This step prepares your certificate for ACME automation and ensures you have the required credentials to issue it in the next steps.
What is an External Account Binding (EAB)? An External Account Binding (EAB) is a pair of secure credentials provided by your Certificate Authority (CA) that proves your ACME client is authorised to request certificates for your account. Think of it as a unique key that links your purchased SSL Certificate to the automated ACME system. The EAB consists of two parts: Key ID (KID) - identifies your account. HMAC Key - securely verifies your requests. Without these credentials, the Certificate Authority (CA) will not issue certificates through ACME.
Note: If you purchase an ACME SSL Certificate from another certificate authority, the configuration windows may look slightly different, but the process is essentially the same and still involves External Account Binding (EAB) credentials.
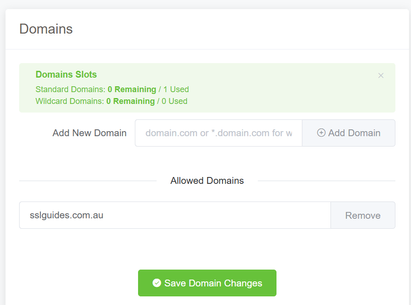
2. On the configuration page, enter your domain name, click on "Add Domain" and then click on "Save Domain Changes"
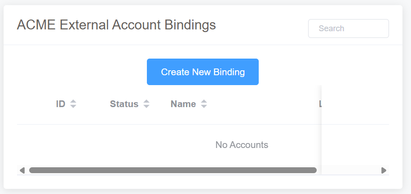
Now, create a new binding.
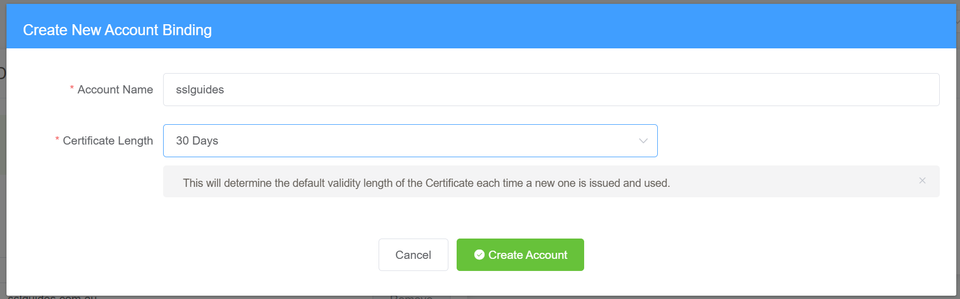
Enter your account name and then select the Certificate Length as "30 days". This means that the certificate will automatically be renewed every 30 days. Click on "Create Account".
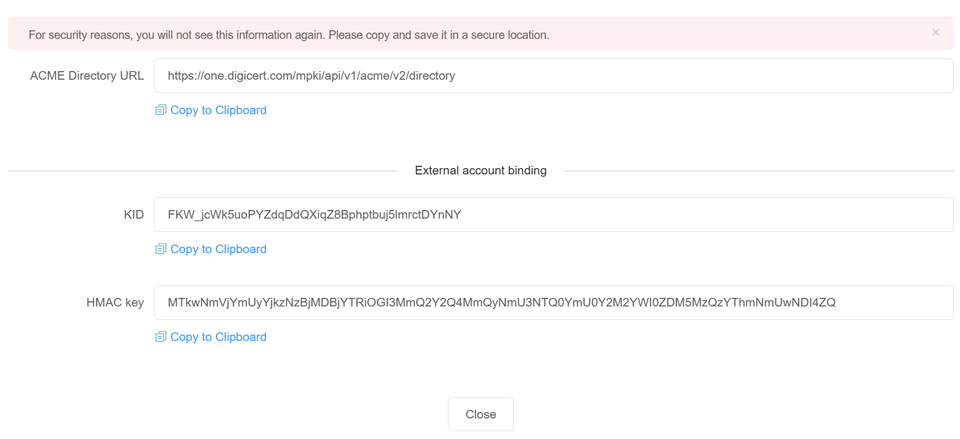
You will now see 3 fields - the ACME directory URL, KID and HMAC Key. Make sure to save all of them at a secure location, you will not be able to see them again.
Step 3. Install SSL Certificate on your server
Now that we have the necessary credentials, we can proceed to install the SSL Certificate on our server using Certbot.
Pre-requisites:
a. Check the version of CentOS with the below command (Preferably Stream x8 & above)
shell
sudo cat /etc/os-release
b. Make sure that you have Nginx running on your server. Check status with below command.
shell
sudo systemctl status nginx
1. Install Certbot with below command:
shell
sudo dnf install epel-release -y && sudo dnf install certbot python3-certbot-nginx -y
2. Check the Installation of Certbot:
shell
sudo certbot --version
3. Create the Nginx configuration file:
shell
sudo nano /etc/nginx/conf.d/yourdomain.com.conf
Add the configuration:
shell
server {
    listen 80;
    server_name yourdomain.com www.yourdomain.com;

    root /usr/share/nginx/yourdomain.com;
    index index.html index.htm;

    location / {
        try_files $uri $uri/ =404;
    }
}
Save the buffer and then reload Nginx:
shell
sudo nginx -t && sudo systemctl reload nginx
4. Run below command to install your SSL Certificate with Certbot:
shell
sudo certbot --nginx \
  --server "CA_SERVER_DIRECTORY" \
  --eab-kid "YOUR_KID" \
  --eab-hmac-key "YOUR_HMAC_KEY" \
  -d yourdomain.com -d www.yourdomain.com \
  --email "YOUR_EMAIL_ID"
Make sure to replace all fields as required before running the command. 5. After successful installation, verify the certificate and restart Nginx:
shell
sudo certbot certificates
  sudo systemctl restart nginx
Step 4. Check the SSL Certifcate Installation
SSLTrust's Free SSL Checker is a tool that allows you to test and validate the SSL/TLS certificates installed on websites. Simply enter a domain name and it will analyze the certificate, providing details like the issuer, expiration date, encryption strength, and whether the certificate is properly configured and trusted by major browsers and operating systems. In SSL tests, receiving an "A" rating typically signifies that the SSL certificate and its configuration meet high security standards.
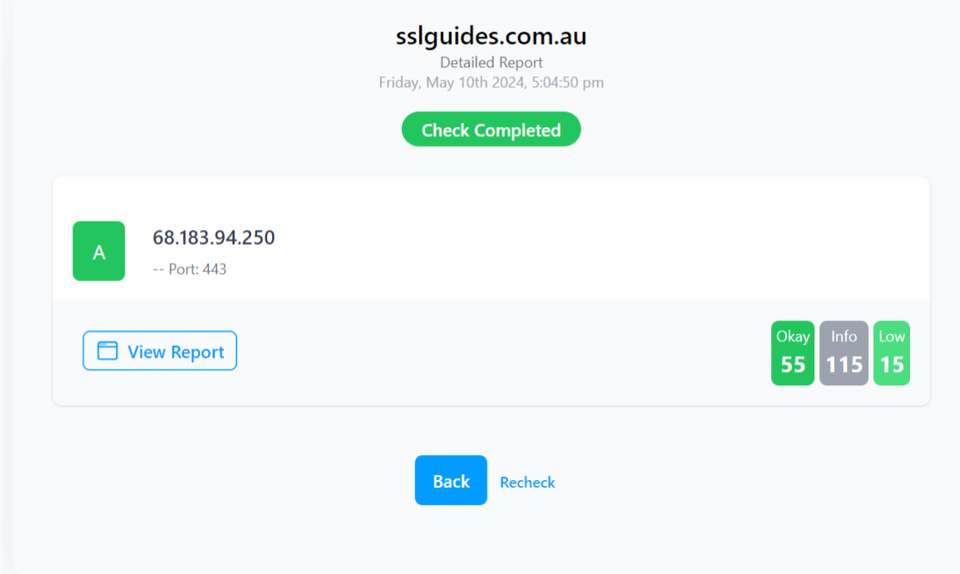
The checker highlights any potential security issues or misconfigurations with the SSL implementation. This free tool makes it easy to verify if a website's SSL certificate is valid and secure, giving visitors confidence their connection is encrypted and their data is protected from eavesdroppers.
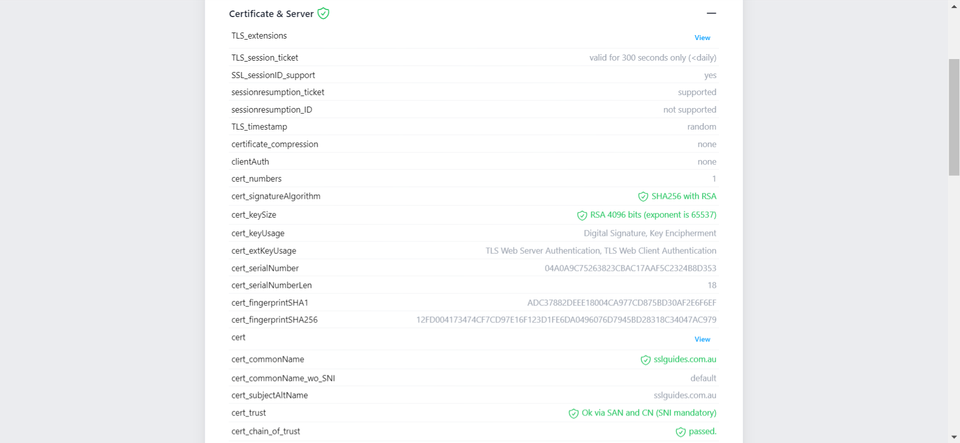
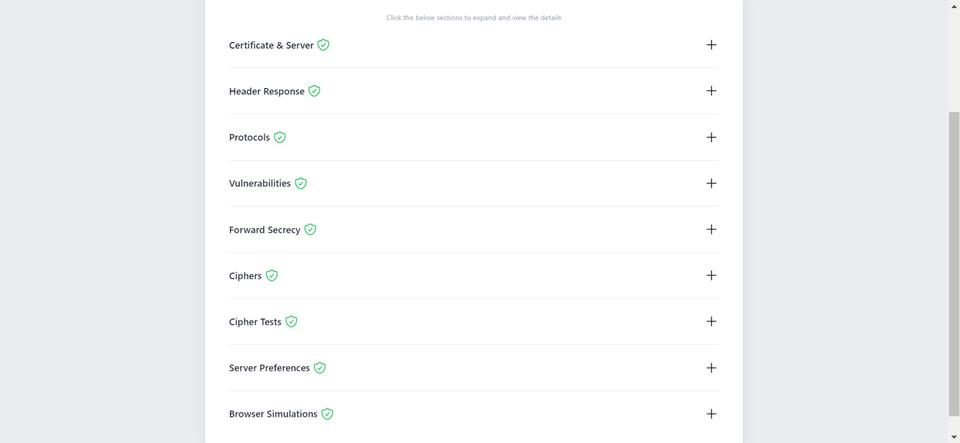
Additionally, you can also performed a detailed check which generates an actionable report with all the ins and out of your SSL Certificate. This includes Protocols, Ciphers, Vulnerabilities and much more.
You might require assistance from your web developer or make the necessary updates to your website personally to ensure that all files utilise "https://" and all links leading to and within your website employ "https://". If you need any help with your SSL Installation, please don't hesitate to reach out to our support team by clicking here.
Step 5. Test the renewal of your ACME SSL Certificate
After successfully installing your ACME SSL certificate, the final step is to ensure that automatic renewal is working correctly. Certbot includes a built-in dry-run feature that simulates the renewal process without making any real changes. This test confirms that your server can communicate with the ACME provider, your EAB credentials are stored correctly, and your certificate will renew automatically before it expires.
1. Run the below command to perform a dry run and simulate the renewal process.
shell
sudo certbot renew --dry-run \
--server "ACME_DIRECTORY_URL"
If above command does not work then, 2. Verify that automatic renewal is enabled on your system:
shell
sudo systemctl status certbot.timer
Note: If the timer is not active, automatic renewal may use cron instead. Check with:
shell
sudo cat /etc/cron.d/certbot
Make sure to replace the ACME_Directory_URL with your saved URL Directory. You will then get an output if your dry run was successful. If you get any errors, try to debug with the official documentation from Certbot. Alternatively, you can retry the installation to make sure that you did not miss any steps.
Congratulations! You’ve now completed the full setup—your ACME SSL Certificate is installed, secured, and ready to renew automatically. From here on, your website stays protected without you having to chase deadlines or fix expired certificates. If you need any help with your SSL Installation, please don't hesitate to reach out to our friendly support team by clicking here .
If interested, do checkout some of the leading brands we have partnered with to bring the best SSL Certificates to our customers. Also, you can check the safety and security of your website at our free website safety and security checker. If you have any other servers, control panels or other tools to install an SSL Certificate on, you can have a look at our numerous installation manuals.
Discussions and Comments
Click here to view and join in on any discussions and comments on this article.